Get started with CmpGme
This guide only applies to Shopify and Klaviyo.

Get started with CmpGme
Step 1
Create Your Account
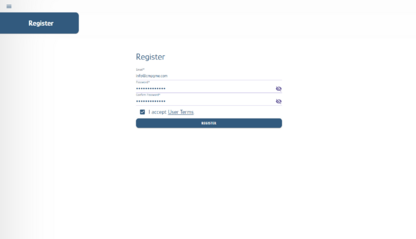
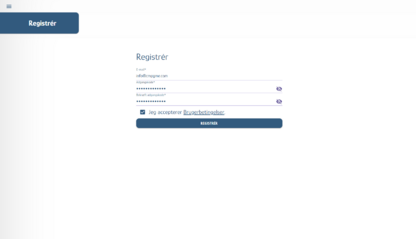
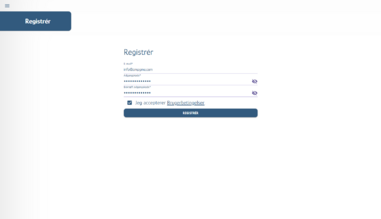
The first thing you need to do is create a profile on CmpGme.
You can find a link to register your profile using the button below.
Step 2
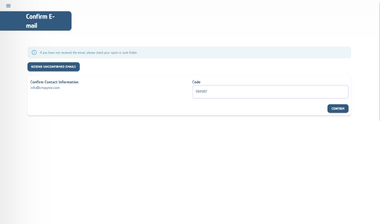
Confirm Your Contact Information
To get started, please confirm your email address. We’ll send you an email with a confirmation code.

Step 3
Add Company Information
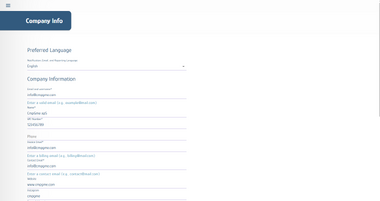
Preferred Language
Notification, Email, and Reporting Language
Selection of the preferred language for notifications and communication (e.g., "English").
Company Information
Email and username*
Used as the primary contact email and login.
Name*
The official name of the company (e.g., "CmpGme ApS").
VAT Number*
The company’s VAT number, which identifies it in the Danish business registry.
Phone
Contact phone number (field appears to be empty in the screenshot).
Invoice Email*
Email address where invoices are sent (requires a valid billing email).
Contact Email*
General contact email for the company (may differ from username and invoice email).
Website
Link to the company's official website.
Social Media
Instagram
The company’s Instagram username.
Address Information
Street Address*
Street name and number (e.g., "Gågaden 101")
Zip Code*
Danish postal code (e.g., "2770").
City*
City name (e.g., "Kastrup").
Country*
Selection of country (e.g., "Denmark").
State or Region
Optional field – possibly used for additional geographic specification.
Finance and Contact
Currency*
Selection of currency for billing and reporting (e.g., "DKK").
Primary Contact
Name of the person primarily representing the company (e.g., "Anders Holm").
Number of Employees
Number of employees in the company (e.g., "2").
Security and Authorization
Pincode
This is used to protect sensitive and critical company information in cases where multiple people share the same login. The field is locked and only visible in specific situations, such as when the PIN needs to be changed or activated.
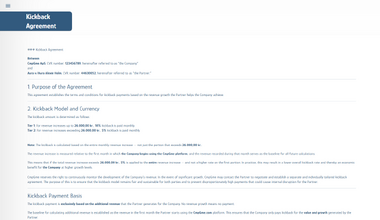
No cure, no pay Agreement (Acceptance)
Must be accepted in order to apply for access to the platform. The agreement covers terms of collaboration and possible commission-based compensation for use or promotion of the platform’s services.




Trin 4
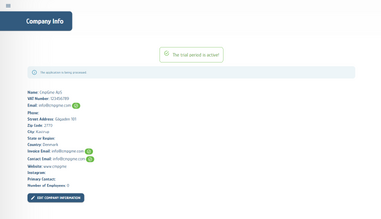
Check Company Information
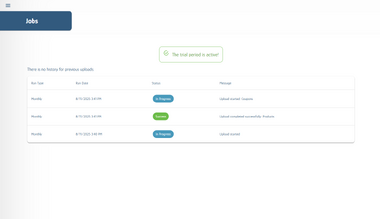
Verify that your company information is correct, and that you are now in the trial period.


Step 5
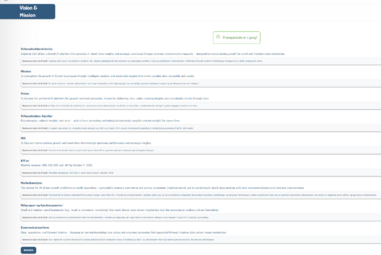
Add Your Company's Vision, Mission, and Core Values
Now it’s time to set up your company
You will now configure your company in the system by providing your company description, goals, KPIs, values, vision, mission, target groups, and communication style. This information forms the foundation for how the AI will work for you.
Why is this important?
The information you provide here is the foundation for how our AI understands your business. By describing your company profile, mission, vision, values, goals, KPIs, market, target audience, and communication style, the AI can tailor its analyses, suggestions, and content precisely to your business.
This ensures the AI works with the right context – who you are, what you want to achieve, the tone you wish to communicate in, and how success is measured.
This is a critical process because accurately completed descriptions mean the AI can deliver results that feel tailored, relevant, and useful for your specific business. Incomplete or unclear descriptions will lead to less precise recommendations and may result in the AI misunderstanding your business.
Company Description
A short description of what the company offers through its platform, and the value it creates.
Example: CmpGme ApS offers a Danish AI platform that provides in-depth data insights and strategic overview through concrete improvement suggestions. The platform is designed to create lasting growth for small and medium-sized enterprises.
Mission
A sentence that describes the company’s overall purpose – what it aims to achieve with its platform.
Example: To strengthen the growth of Danish businesses through intelligent analysis and actionable insights. These insights make complex data easily accessible and usable.
Vision
A sentence that describes the company’s long-term ambition – how it aims to shape its role in the market going forward.
Example: To become the preferred AI platform for growth-oriented businesses. We aim to be known for delivering clear, value-creating insights and sustainable results through data.
Core Values
A short description of the core values that drive the company’s work and collaboration with its customers.
Example: Data integrity, tailored insights, and trust – with a focus on making technological complexity tangible and meaningful for each customer.
Goals
A specific and time-bound objective that can be completed and measured.
Example: To help our customers achieve growth and reach their KPIs through optimized performance and strategic insights.
KPIs
A list of concrete, measurable indicators that show performance toward the goals.
Example: Monthly revenue of DKK 250,000 excluding VAT by October 1, 2026.
Market Analysis
A short description of the target audience and competitive situation, showing the company’s position in the market.
Example: The market for AI-driven growth platforms is growing rapidly – particularly among e-commerce and service businesses. CmpGme stands out by combining in-depth data analysis with clear recommendations and concrete improvements.
Target Groups and Customer Segments
A description of who the company’s users are – focusing on industry, size, and needs.
Example: Small and medium-sized businesses in retail, e-commerce, and consulting. They want clearer data-driven insights but lack the resources to analyze and act on them themselves.
Communication Style
A description of the tone and style the company uses in its communication – and the feeling it aims to convey.
Example: Clear, supportive, and forward-looking – with a focus on turning knowledge into action. We want customers to feel supported through intuitive data recommendations.


Step 6
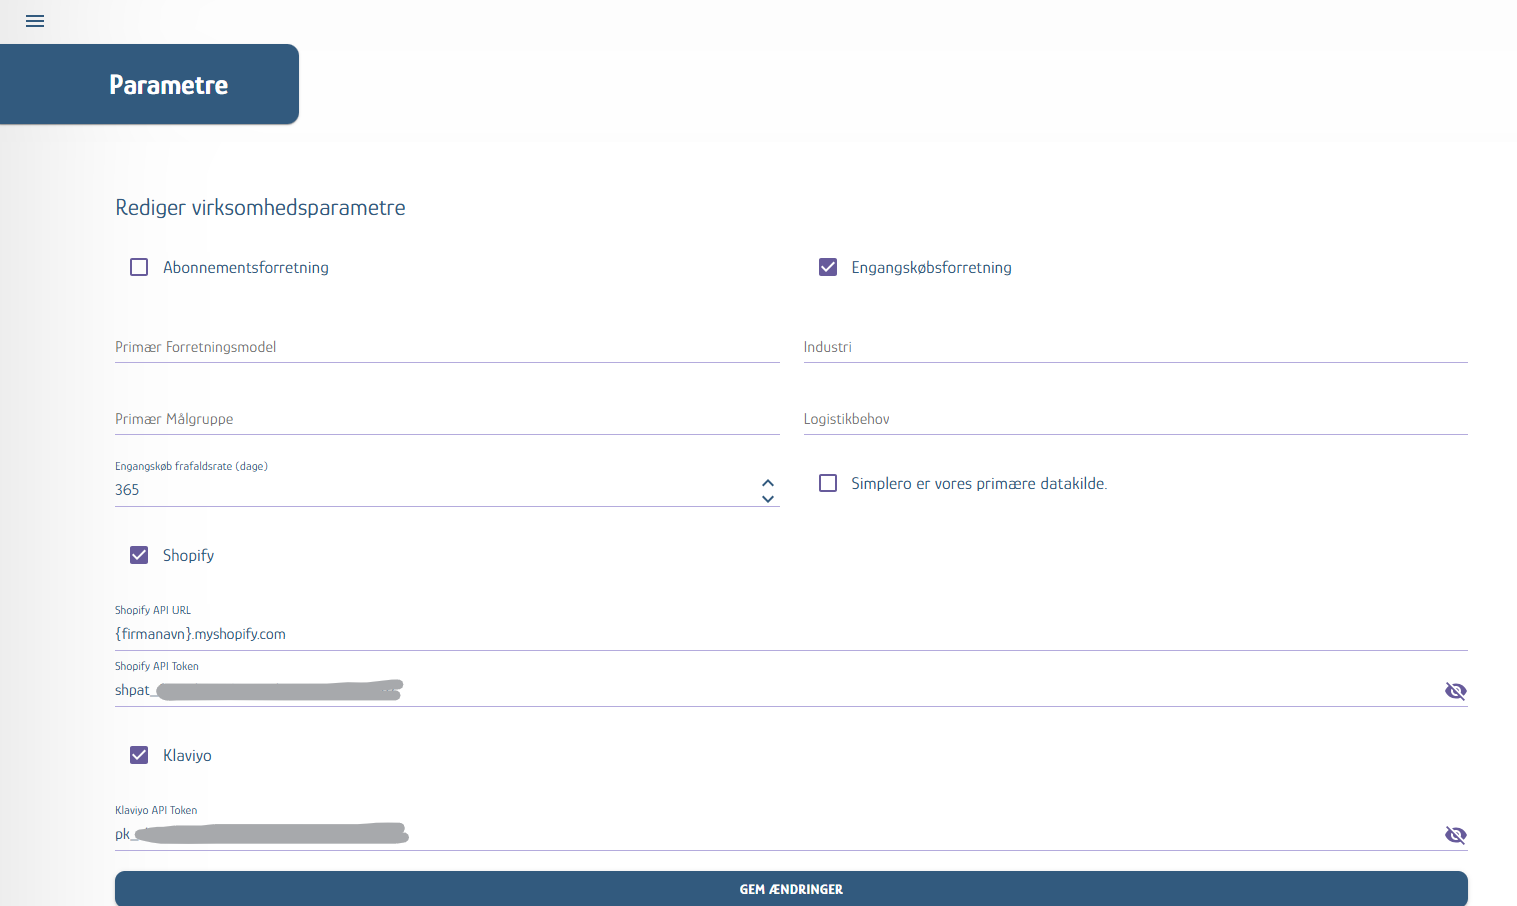
Configure Company Base Parameters
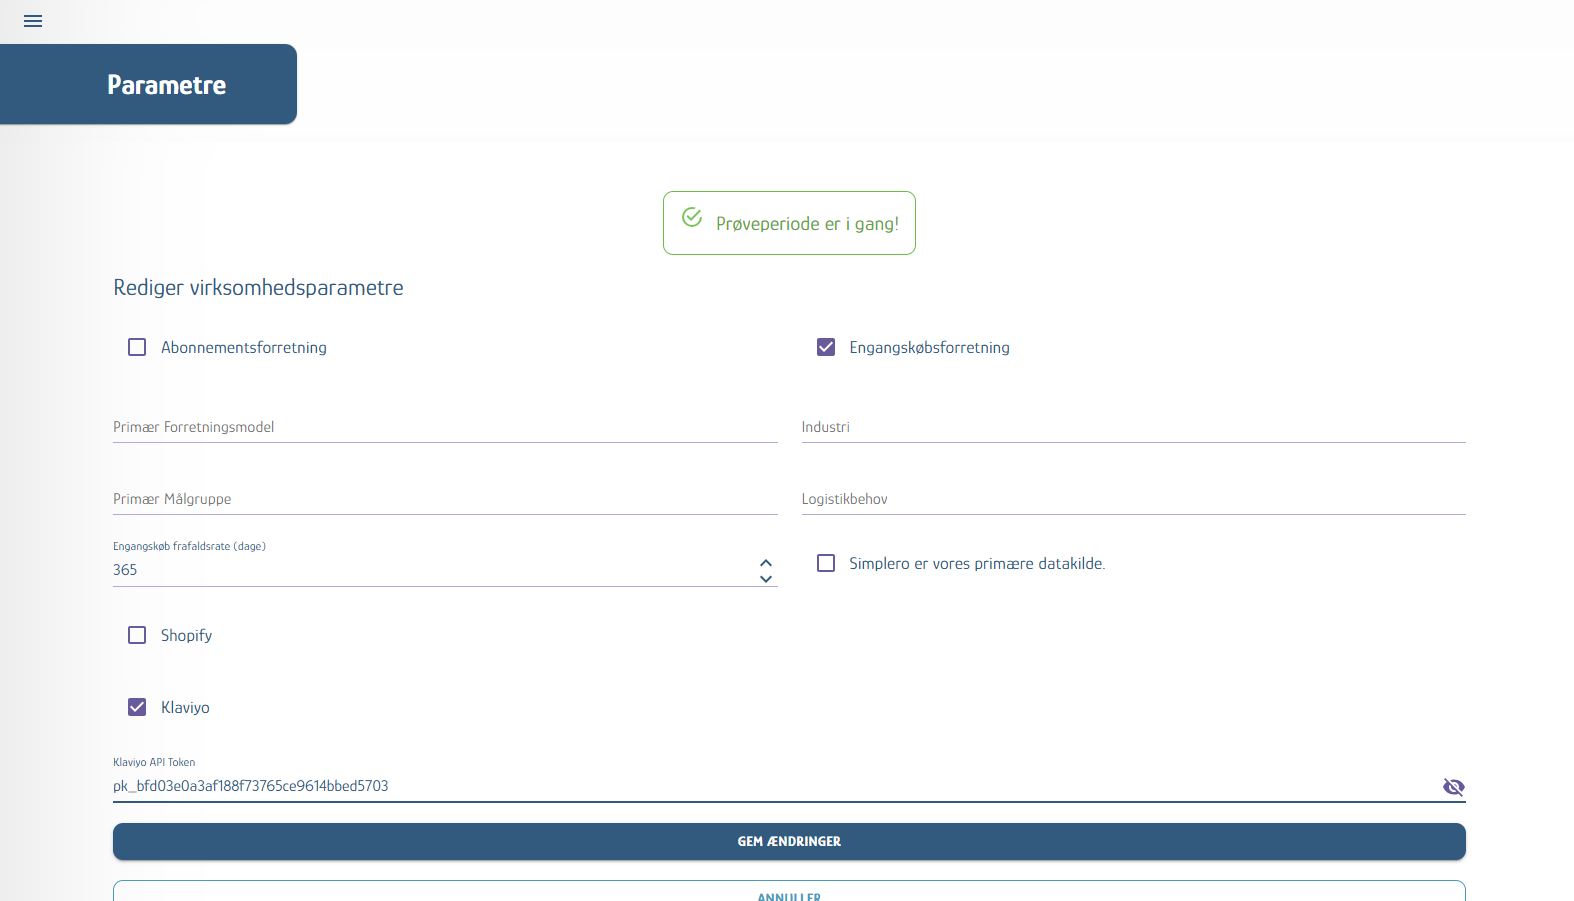
Now set up your company parameters
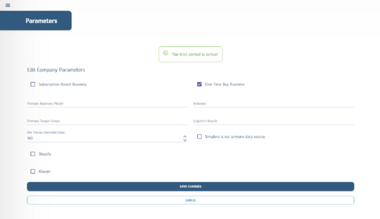
In this step, you will configure the core settings that the AI uses to understand your business, your target audience, and your technical integrations. This information is essential for ensuring that analyses, reports, and recommendations are tailored to your specific company.
How to fill in the fields:
Subscription Business
Check this box if your company primarily sells products or services via subscription plans.One-Time Purchase Business
Check this box if you primarily sell products or services as one-off purchases without a subscription.Primary Business Model
Briefly describe your main sales or operational model, e.g., e-commerce, consulting, SaaS, or retail.Industry
Select or enter the industry your company belongs to, e.g., fashion, food, technology.Primary Target Group
Describe your main customer type, e.g., B2B, B2C, age group, or specific demographic.Logistics Needs
Specify any special logistics requirements, e.g., inventory management, dropshipping, or physical distribution.One-Time Purchase Churn Rate (days)
Enter the typical number of days before a one-time customer does not return. Used to assess customer loyalty.Simplero is our primary data source
Check this box if Simplero is your main source of sales and customer data.Shopify
Check this box if you use Shopify as your e-commerce platform.Klaviyo
Check this box if you use Klaviyo for email marketing and customer communication.


Step 7
Enter Company Sales and Marketing Expenses
Now you need to enter your company costs
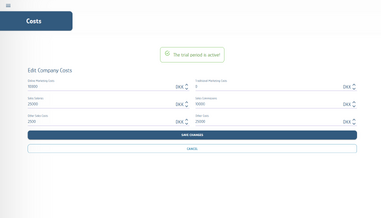
In this step, you record your fixed and variable sales and marketing costs. This information is used to calculate your company’s profitability and to give the AI an accurate picture of your expenses, ensuring that recommendations and analyses are as precise as possible.
How to fill in the fields:
Online Marketing Costs
Enter the total amount spent on digital advertising (e.g., Google Ads, Facebook Ads, SEO, email marketing).Traditional Marketing Costs
Enter expenses for offline marketing (e.g., print ads, flyers, events, TV/radio).Sales Salaries
Specify the total monthly salary expenses for your sales team.Sales Commissions
Enter the total commission expenses paid to sales staff based on sales performance.Other Sales Costs
Enter other direct sales-related expenses not covered by the above categories.Other Costs
Enter any other relevant company costs not included in the other fields.


Step 8
Setting Up Shopify Integration in CmpGme
To allow CmpGme to retrieve data from your Shopify store, you need to create an app in Shopify, assign the necessary permissions, and enter the API details into CmpGme.
1. Log in to Shopify
Go to https://www.shopify.com/ and log in to your store.
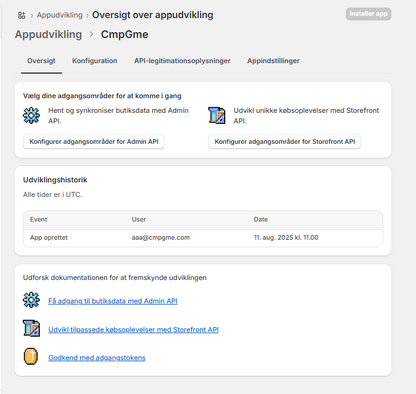
2. Go directly to app development
Follow this link (replace {storename} with your store’s URL name):
https://admin.shopify.com/store/{storename}/settings/apps/development?link_source=search
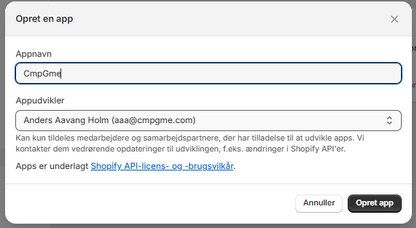
Click Create an app.
Give the app a name, for example CmpGme.
Enter your email address (the one used for your Shopify account).
Click Create app.
3. Add API permissions
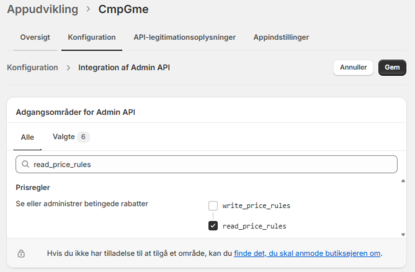
Inside the app, go to the Configuration tab.
Under Admin API integration, click Configure.
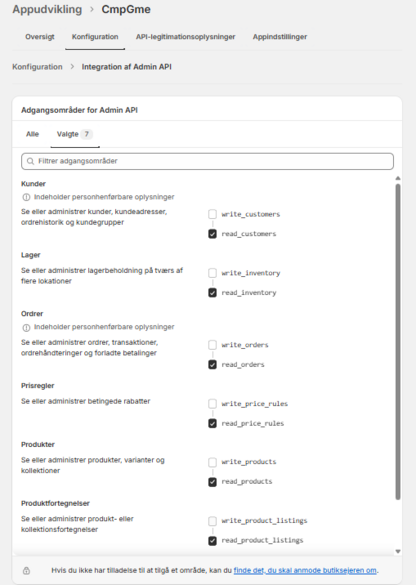
Select the required API permissions:
read_orders
read_customers
read_products
read_product_listings
read_price_rules
read_discounts
read_fulfillments
read_inventory
read_locations
read_assigned_fulfillment_orders
read_analytics
Click Save.
4. Install the app
Click Install app in the top right corner.
Confirm the installation.
5. Copy the access token
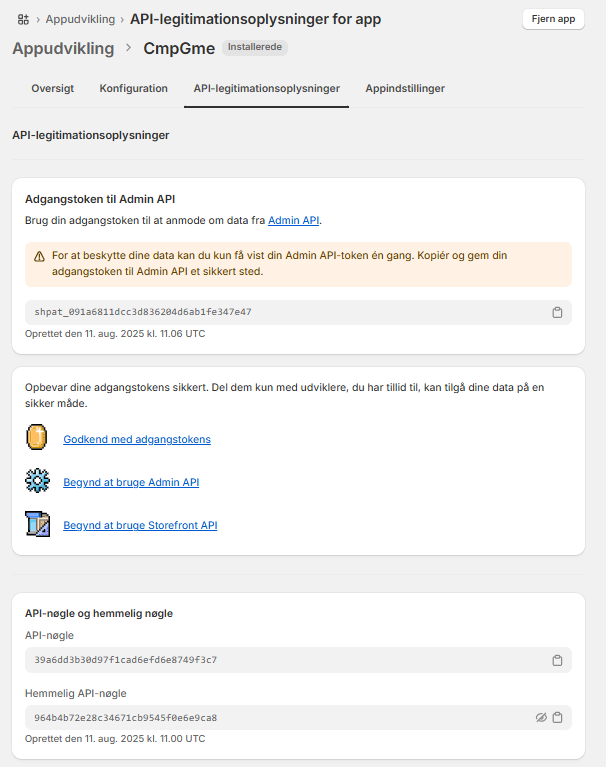
Go to the API credentials tab.
Click Reveal token once under Admin API access token.
Copy the token (starts with shpat_) and store it somewhere secure — you can only view it once.
6. Copy the API keys
Under API key and secret key:
Copy the API key.
Click the eye icon to reveal and copy the API secret key.
7. Insert into CmpGme
Log in to the CmpGme system.
Go to Parameters under your company settings.
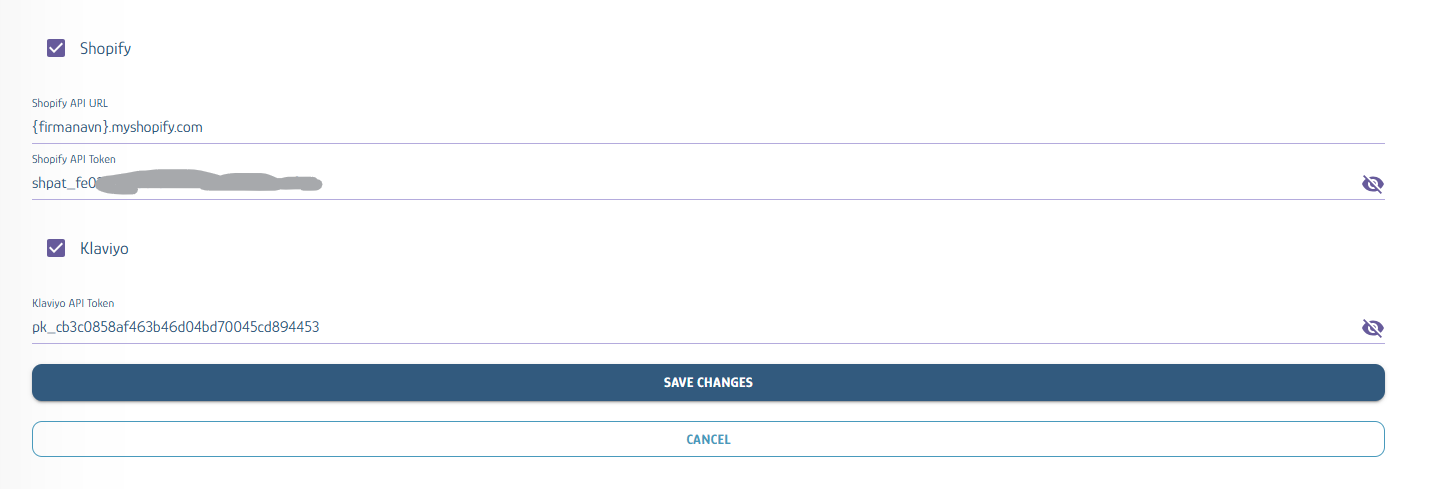
Find the fields for Shopify integration:
Paste the API key.
Paste the API secret key.
Paste the Admin API access token.
Click Save changes.
8. Verify the integration
Once the integration is active, CmpGme will automatically begin retrieving orders, products, customers, and other relevant data from Shopify.



Step 9
Create and Add Your Klaviyo Private API Key
Setting up the Klaviyo Integration in CmpGme
For CmpGme to retrieve data from your Klaviyo account, you need to create a Private API Key in Klaviyo and insert it into the CmpGme system. Follow these steps:
1. Log in to Klaviyo
Go to https://www.klaviyo.com/ and log in to your account.
2. Find the API settings
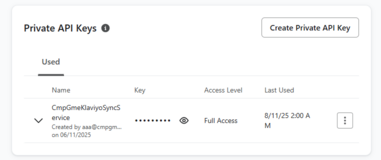
Click your company logo in the bottom left corner.
Select Settings in the menu.
Select the API Keys tab in the menu on the left.
3. Create a Private API Key
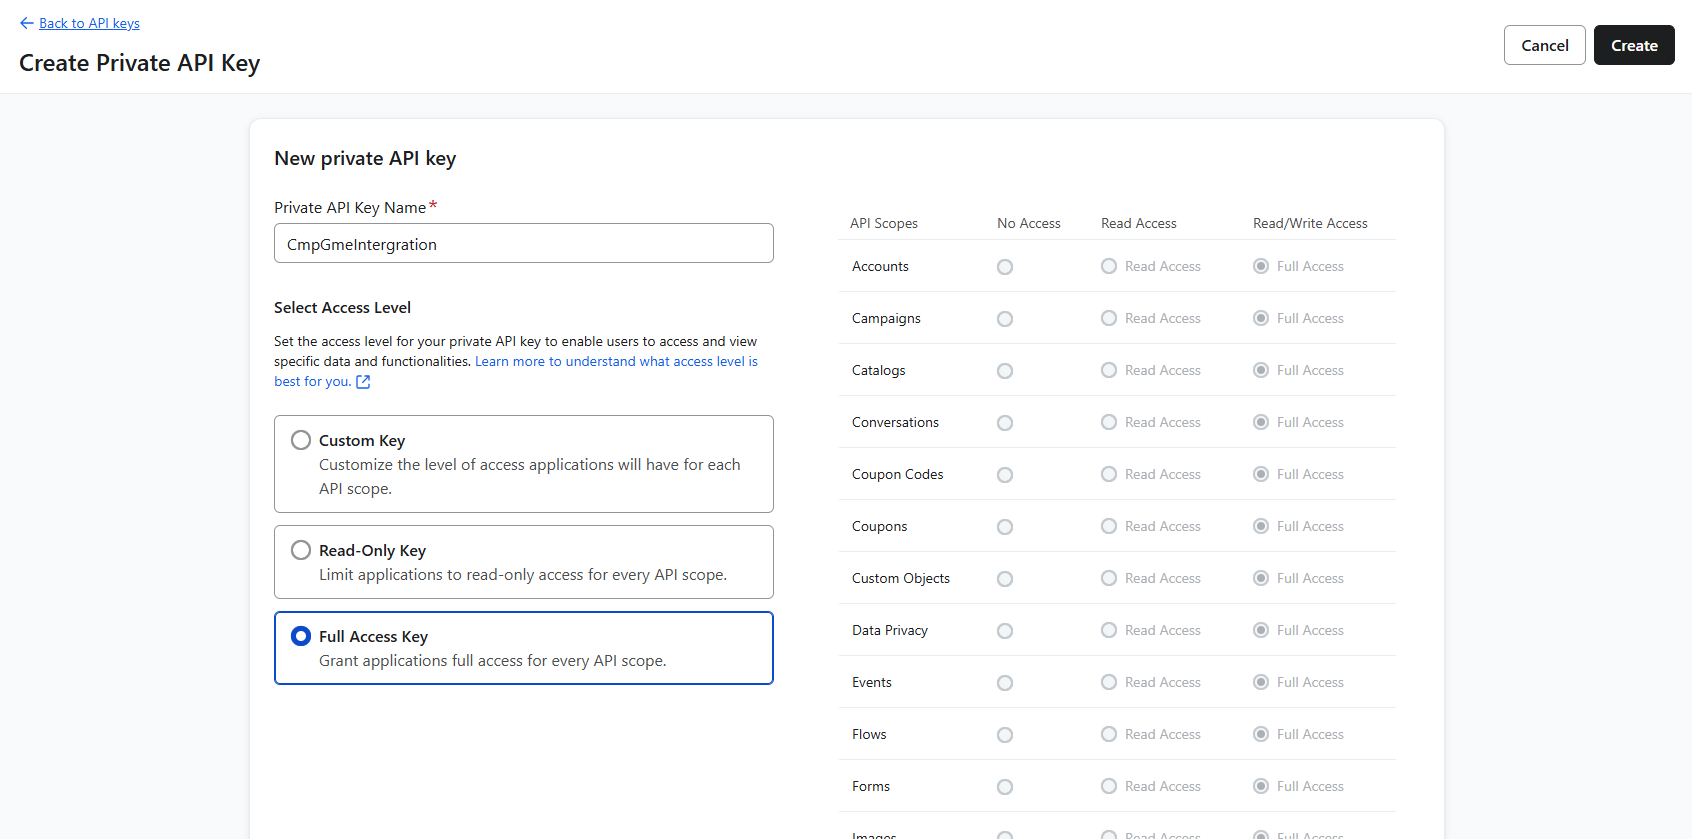
Click Create Private API Key.
Give the key a recognizable name – for example, CmpGmeIntegration (written as one word).
Make sure the Access Level is set to Full Access.
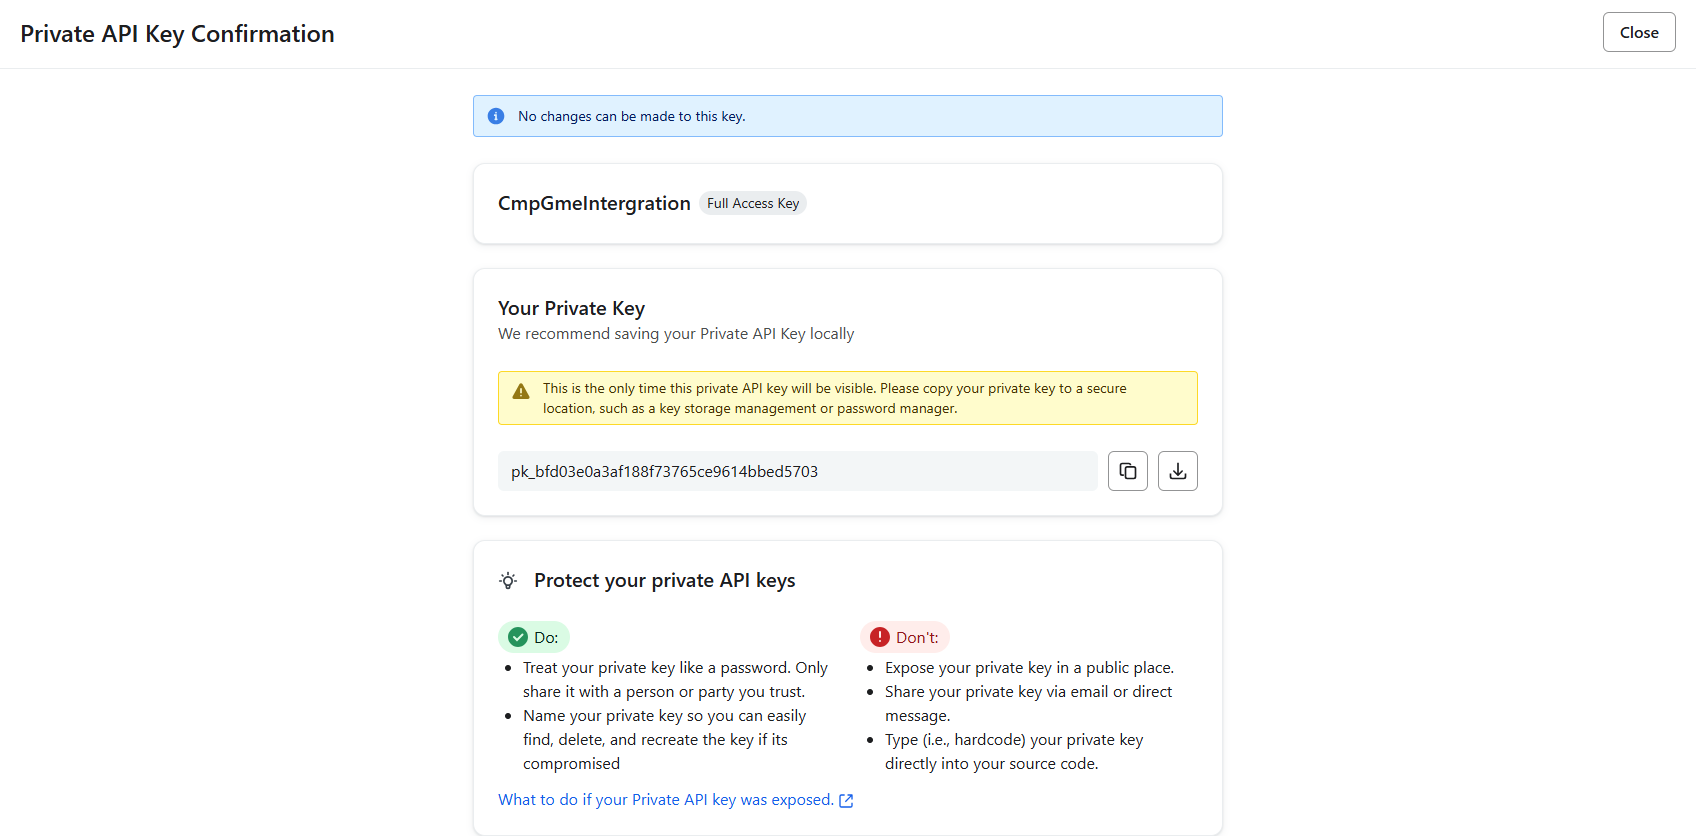
Copy the API key (the long string of letters and numbers).
4. Insert the key into CmpGme
Log in to the CmpGme system.
Go to Parameters under your company settings.
(https://app.cmpgme.com/admin/settings/parameters)Find the field for Klaviyo API Key and paste the copied key.


Step 10
We’re Ready
Everything is now set up, and CmpGme has started importing data and generating key figures and reports for the past three months.
You can follow the process under Runs, where the system also automatically checks for new customers every 10 minutes.
We will get back to you as soon as we have validated your profile. You will then be notified whether your company has been approved or rejected.
This guide will quickly walk you through CmpGme. We’ll begin by setting up and scheduling the automatic generation of daily suggestions—because suggestions only appear after the runs have completed. Then we’ll show you where to find and understand your key figures, how to work with reports, and how to use suggestions in your day-to-day.
